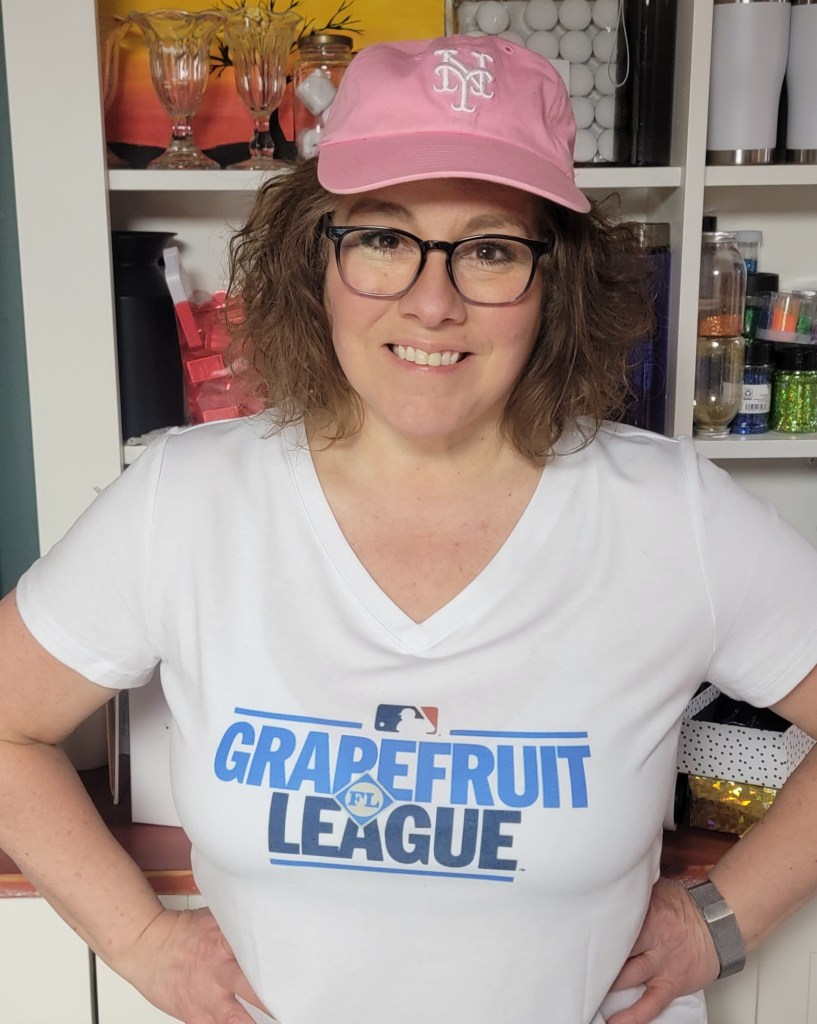
There is something extra fun about wearing something you made yourself — especially when you wear it in the wild.
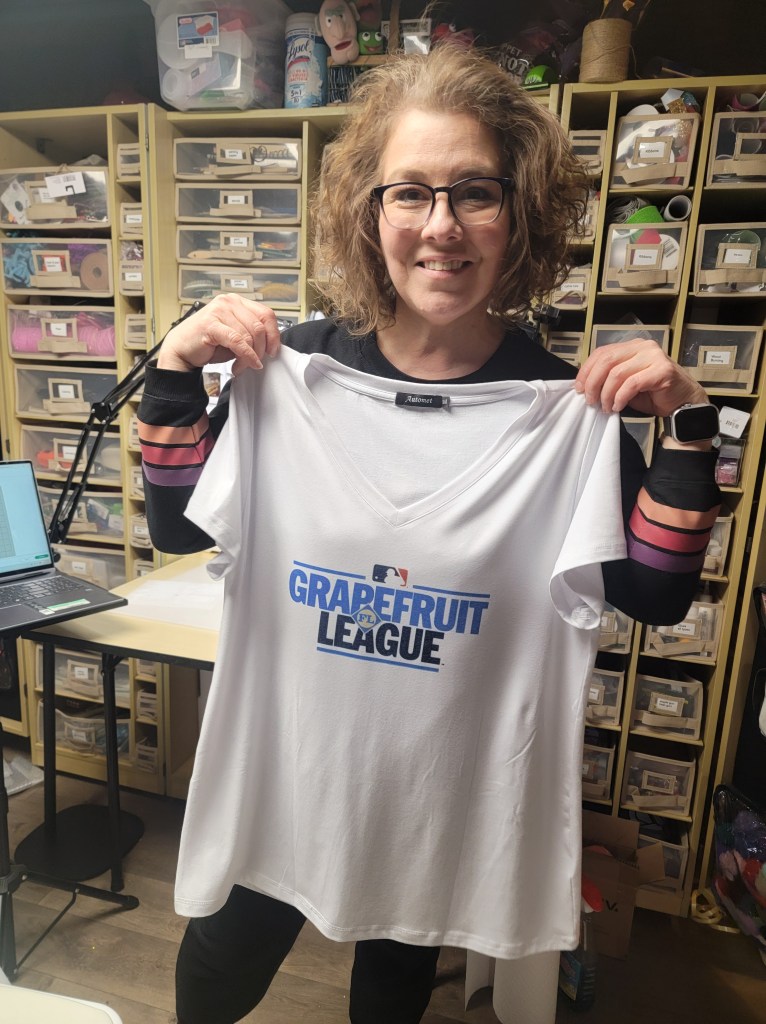
Before heading to Spring Training in Florida, I decided to make my own game day shirt. Instead of buying one, I designed and sublimated it myself — and today I’m walking you through exactly how I did it.
If you’re new to sublimation, a tee shirt like this is a great first apparel project. There are some up front material investments required for sublimation and I will set up a beginners sublimation supply list and post it here soon.
👉 Watch the FB LIVE conversation from Clover Park (NY Mets Spring Training) here:
https://www.youtube.com/shorts/thnkuMUZuoc
Why I Chose This Shirt
This shirt is an 82% polyester blend.
That matters.
Sublimation ink bonds with polyester fibers. The higher the polyester content, the more vibrant and permanent your design will be.
- ✔ 65% polyester blend = good results
- ✔ 80% or more polyester = vibrant and easy
- ⚠ 100% cotton = requires a different, longer process and special treatments
For ease and consistent results, I personally stick to polyester blends.
⭐ Walmart Creator Disclosure
This post may contain affiliate links. As a member of the Walmart Creator Program, I may earn a small commission if you purchase through my links — at no additional cost to you. I only recommend products I personally use in my studio.
Supplies You’ll Need
- Polyester blend shirt (82% poly in this project)
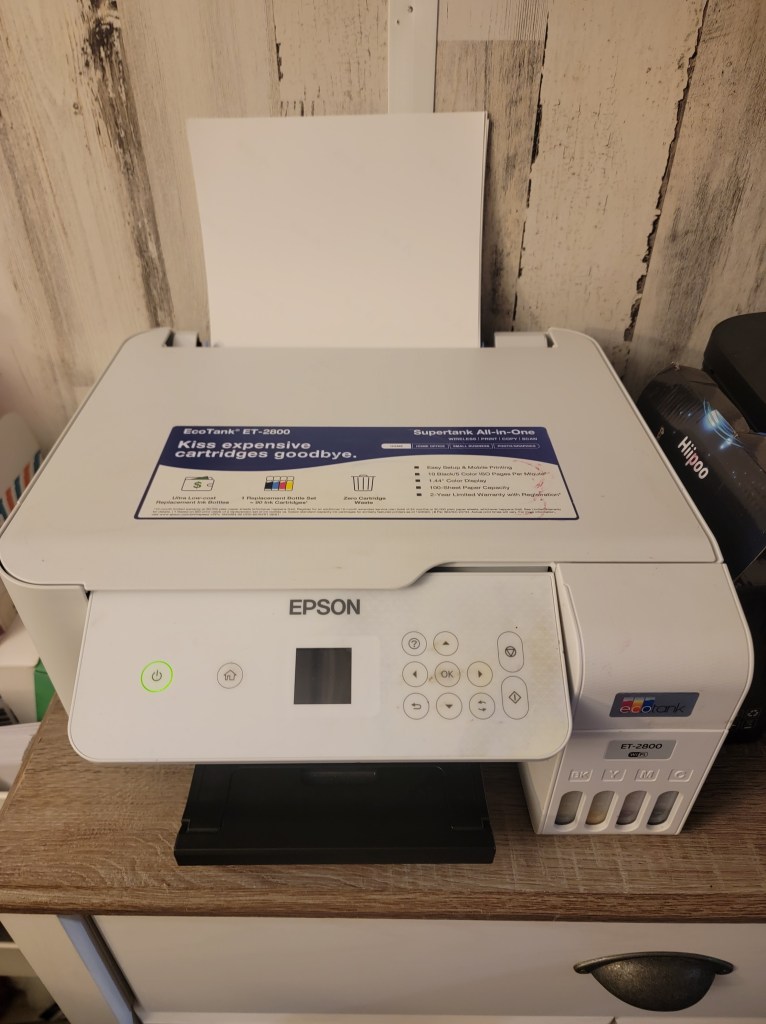
- Sublimation printer & sublimation ink (this is the bulk of your investment)
- Sublimation paper
- Heat press (I used a clamshell style)
- Butcher paper or protective paper
- Lint roller
Optional:
• Heat resistant tape
Step-by-Step Instructions
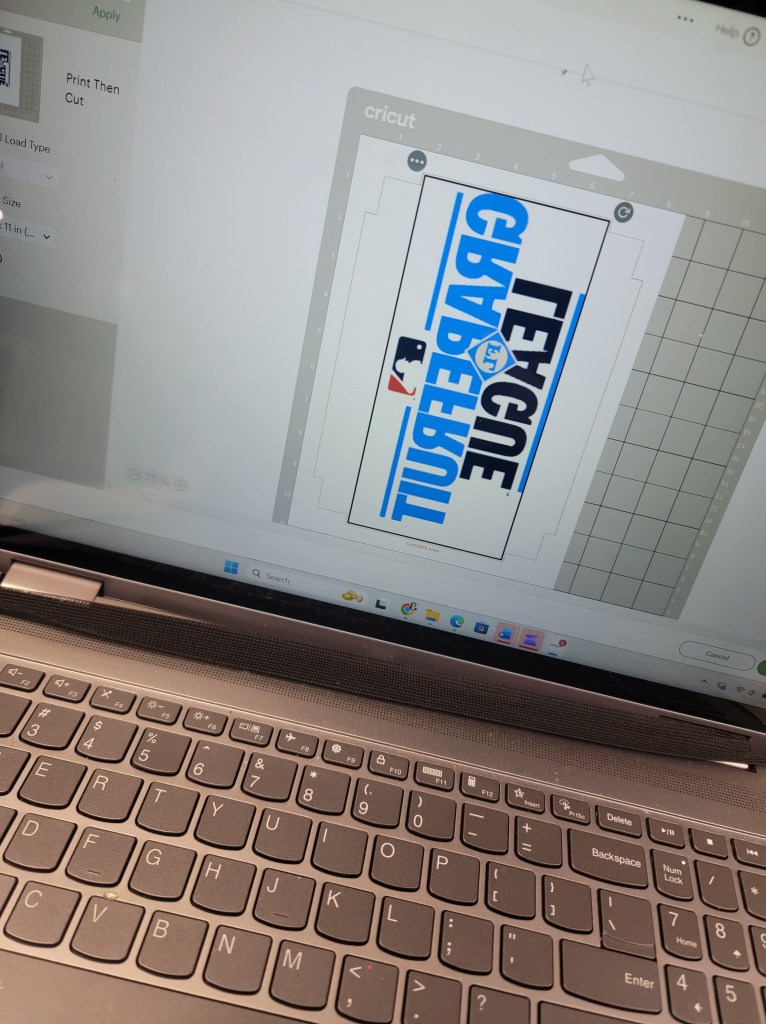
Step 1: Design Your Graphic
I created my design inside Cricut Design Space, but you can absolutely use:
- Canva
- Adobe Illustrator
- Procreate
- Any art program you’re comfortable with
The key is exporting a high-resolution image sized correctly for your shirt.
Important: Mirror your design before printing.
Sublimation transfers are placed face down on the shirt.
Step 2: Print Your Transfer
Print using sublimation paper and sublimation ink.
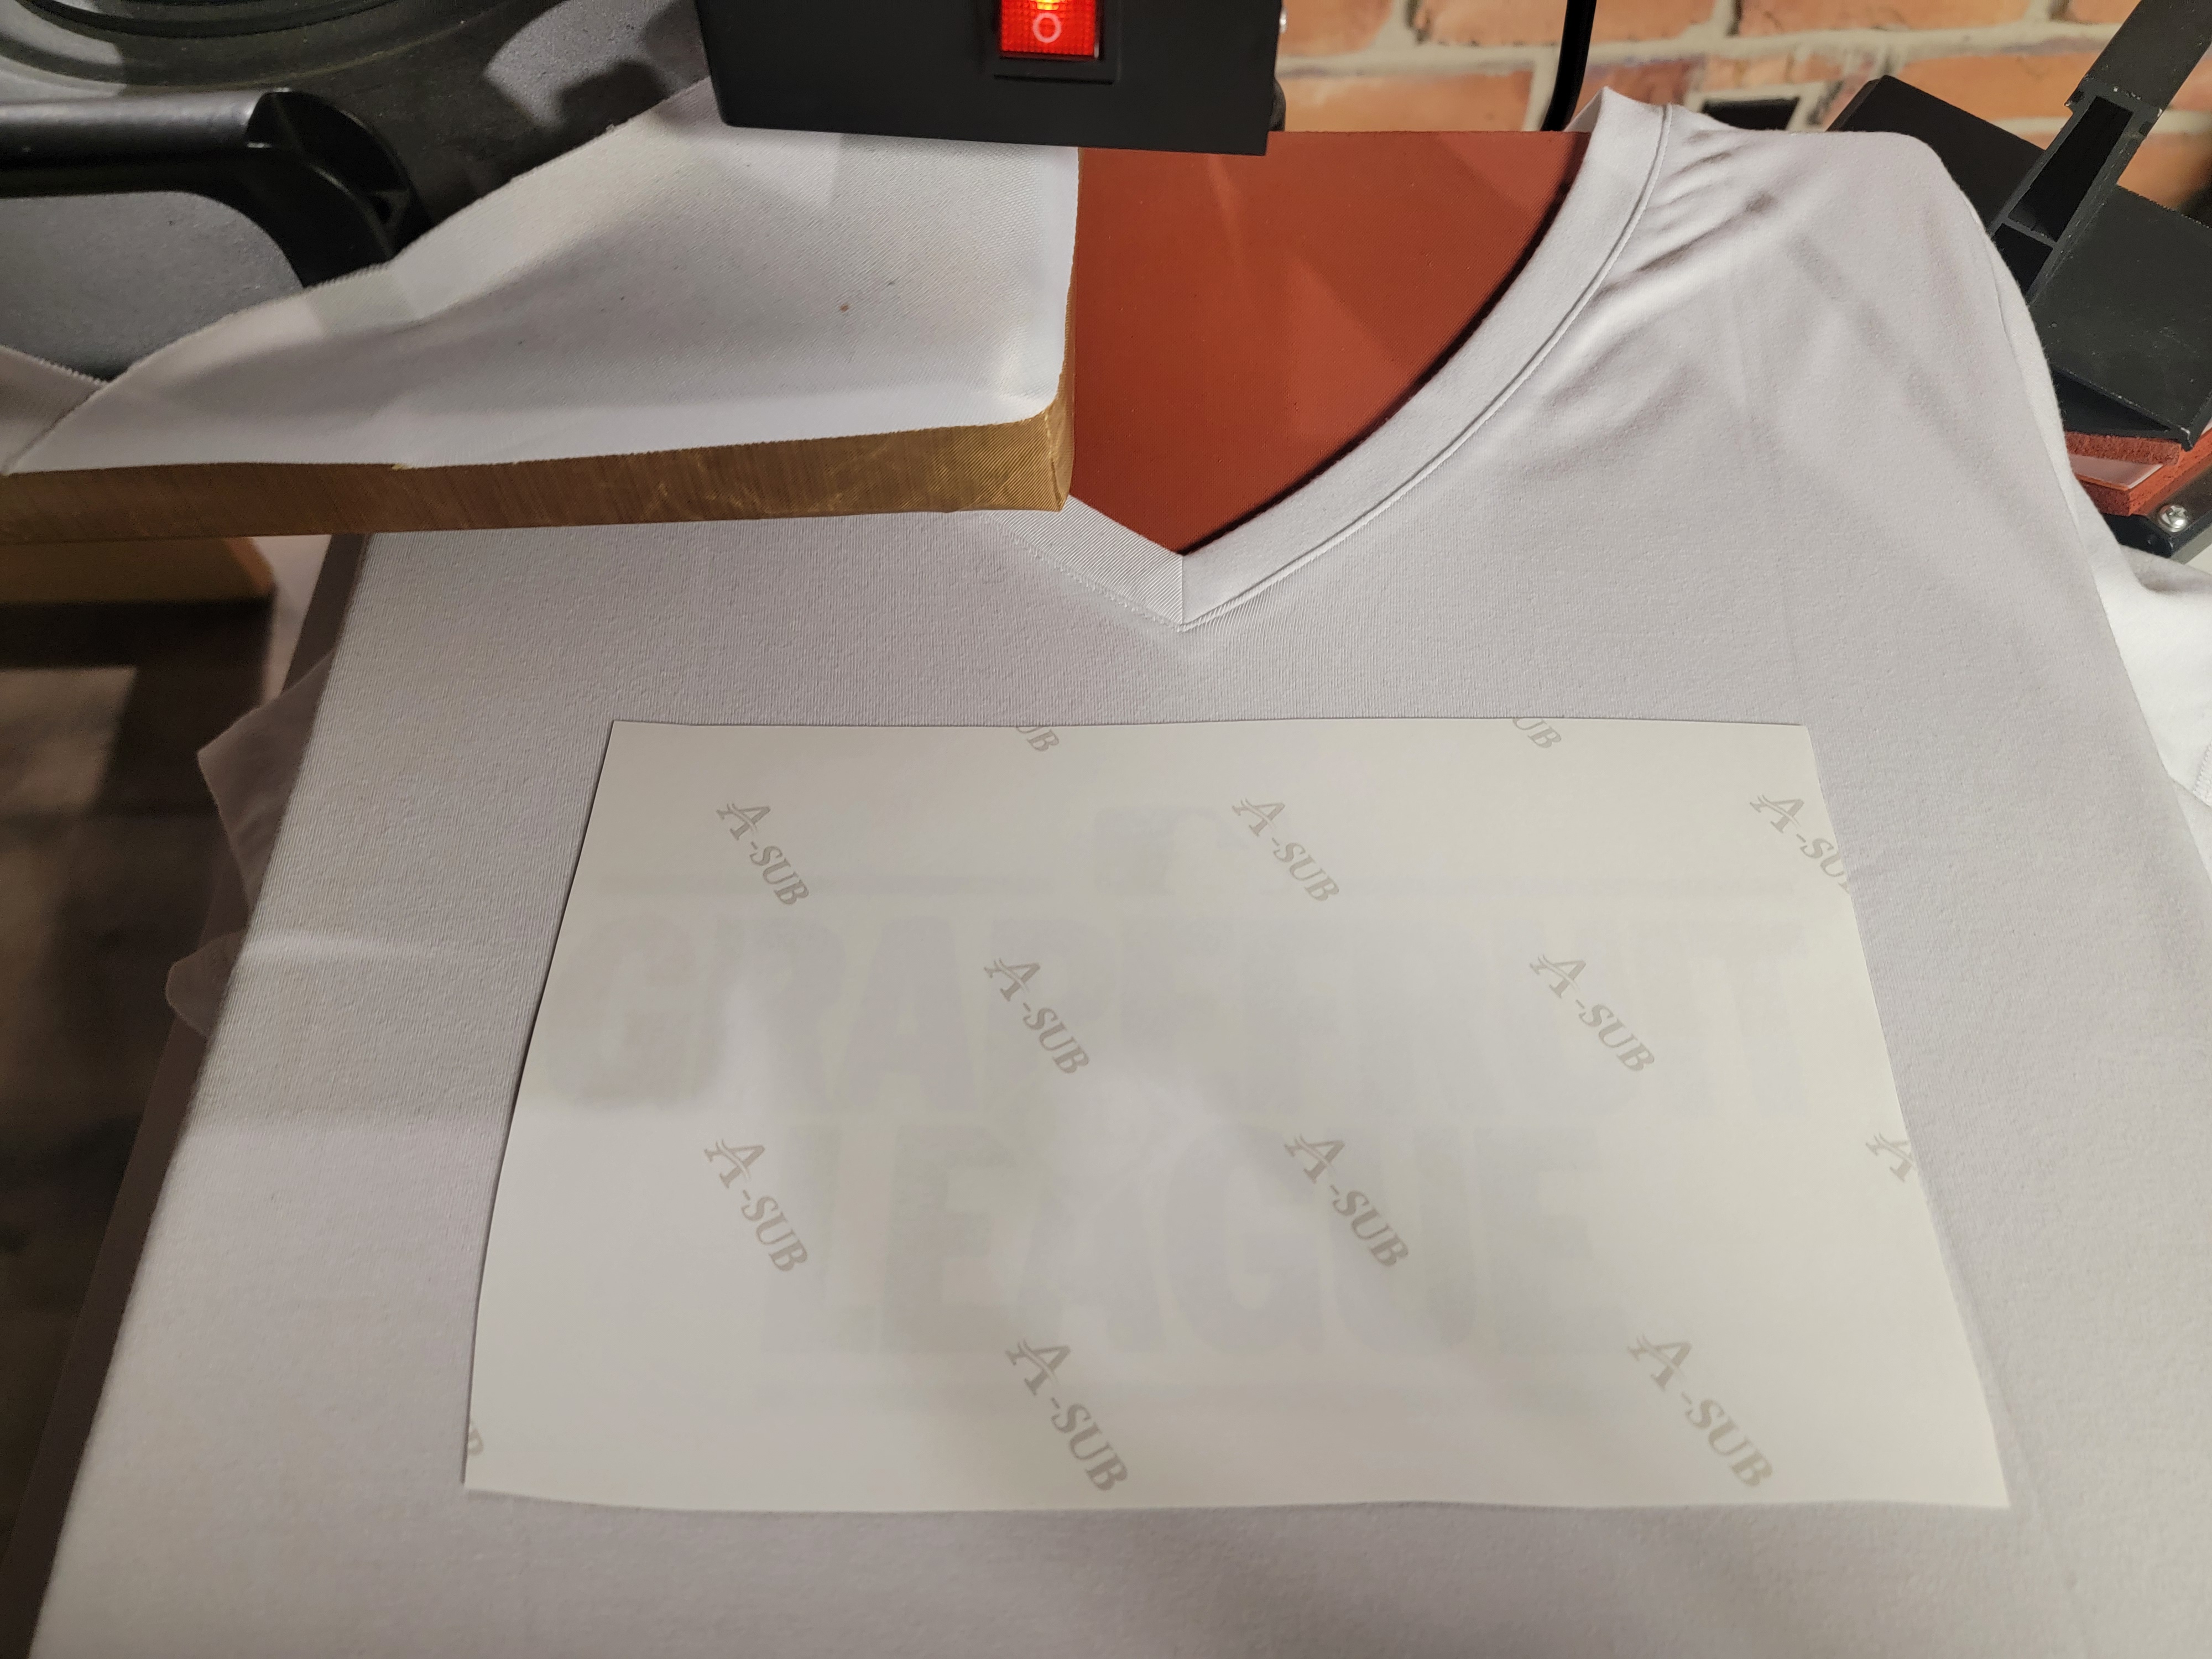
You’ll notice the printed sheet looks a little muted — that’s normal. The color develops fully once heat is applied. It should also be backwards since yuo printed WITH mirror on.
Step 3: Prep The Shirt
Before pressing:
- Lint roll the shirt thoroughly.
- Pre-press the shirt for 5–10 seconds to remove moisture and wrinkles.
- Let it cool briefly.
- Place butcher paper inside the shirt to prevent ink bleed-through.
Position your transfer face down where you want it.
Step 4: Press The Shirt
My settings for this polyester blend:
- Temperature: 385°F
- Time: 40-60 seconds
- Pressure: Medium

(Always check your specific paper and ink manufacturer recommendations.)
Place butcher paper on top of the transfer before pressing.
Press once, steady and firm. Avoid shifting.
Step 5: The Reveal
Peel the paper off immediately after pressing.
This is the magic moment.
You’ll see vibrant color that’s permanently bonded into the fibers — no cracking, no peeling, no texture sitting on top of the shirt.
It becomes part of the fabric.
Why I Love Sublimation for Apparel
No layering vinyl
- No peeling
- No heavy feel
- Wash-safe and long-lasting
- Beginner friendly once you understand materials
It’s one of the fastest ways to make custom shirts that look professionally done.
Common Beginner Mistakes
1. Using 100% cotton without knowing the limitations
Cotton requires specialty processes. Stick to polyester blends while learning.
2. Forgetting to mirror the design
We’ve all done it once (or 1,ooo times).
3. Not lint rolling first
Tiny fibers will permanently press into your design.
4. Too much pressure
Can cause ghosting or uneven transfer.
From Craft Room to Stadium
I wore this shirt to a Spring Training game — and yes, I went live to show it “in the wild.”
That’s one of my favorite parts of crafting:
Making something and actually using it.
Creative confidence grows when your projects leave the craft room.
If you make any sublimation project, tag me — I’d love to see it.
And if you’re just getting started with sublimation, this is a perfect first wearable win.
Helping you build creative confidence — one experiment at a time. ✨
If you ever find value in my live sessions, Facebook Stars are enabled and always appreciated — but never expected. Your engagement and comments mean just as much.
YouTube: https://www.youtube.com/@AnnettesCreativeCorner
Facebook: https://www.facebook.com/AnnettesCreativeCorner
Read Privacy Policy for details


Leave a comment